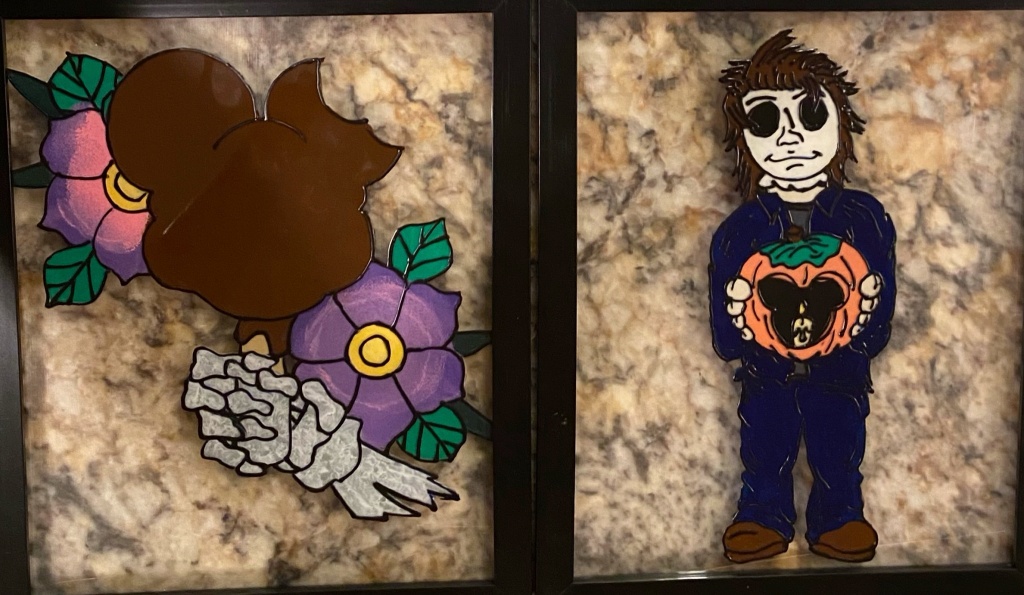
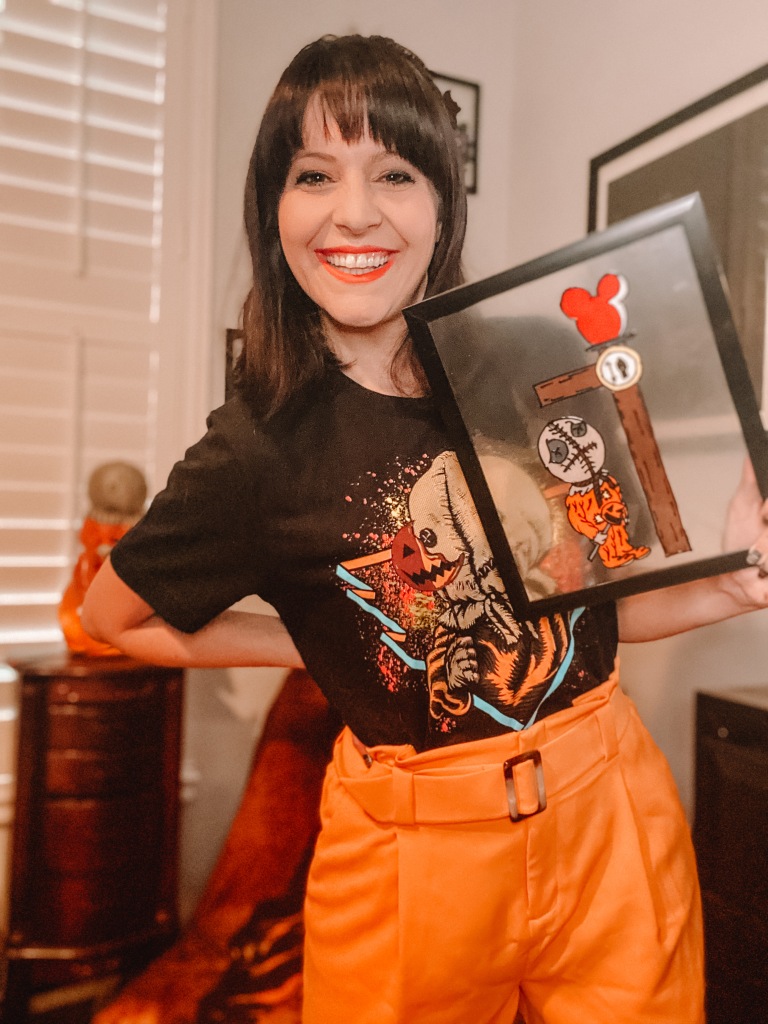
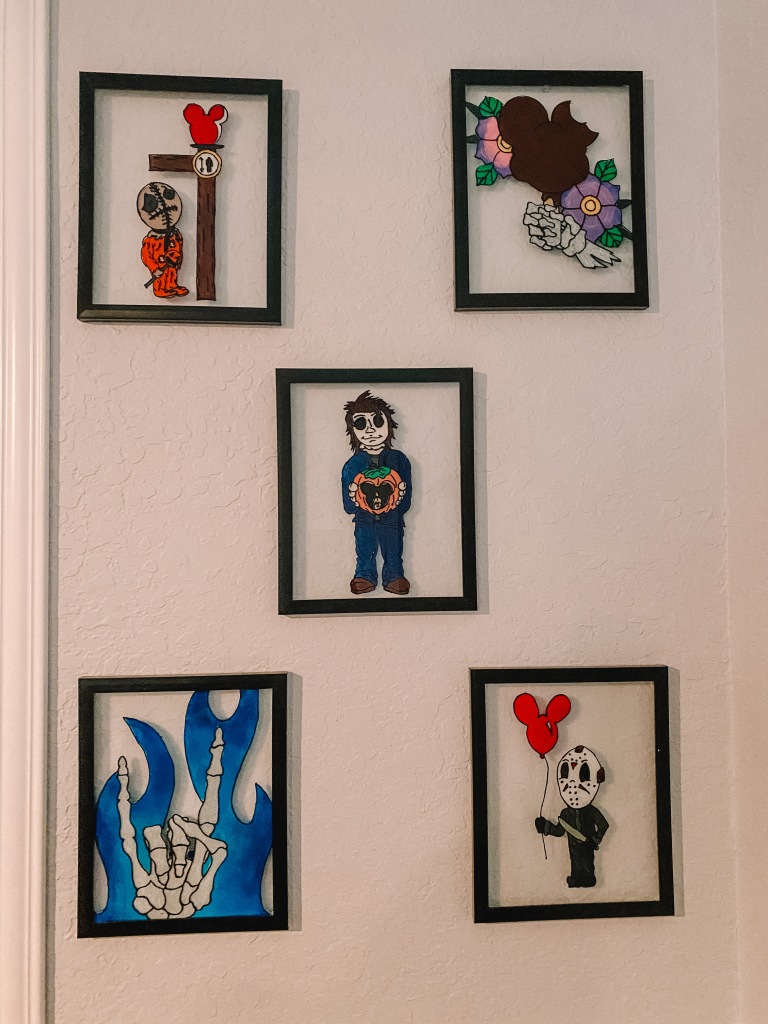
During this forever long quarantine, I tried to find ways to bring some entertainment into my home. I accomplished this by finding DIYs to do. This lets me put my own twist and personal style to some of my favorite things. Aside from doing different things to my tees, I also like to draw and paint! I spend a lot of time in my bedroom with my fur babies so I found myself looking around my bedroom trying to find things to do. I realized that I have nothing on my walls. The next thing I did was pull up Pinterest and went down the crafting rabbit hole. I came across articles of DIY Beauty and the Beast stained glass rose art and thought that the idea was absolutely perfect. I decided to take that concept and make it Disney meets Horror/Halloween themed! I used coloring pages from my friends over at Foolish Mortal Supply Co and Great Adventure Supply Co to style some of my pieces! I tried the different versions that I found and finally found a way that I personally prefer. I will be breaking down the steps and sharing the supplies that I used to create my own faux stained glass art. I will also include links to the products (or similar products) that I used! Let’s get crafty!
SUPPLIES:
- Picture frame(s)
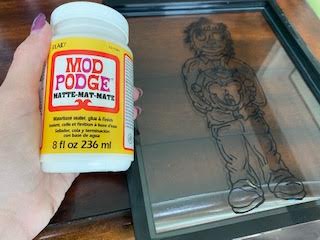
- Mod Podge
- Acrylic paint
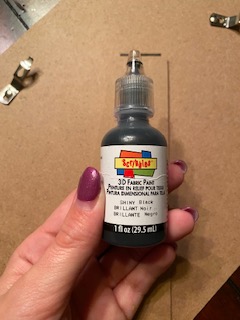
- 3D or puffy paint
- Windex or Rubbing Alcohol
- Paintbrushes or Sponge brushes
- Hot glue gun & glue sticks
- Permanent marker
STEPS:
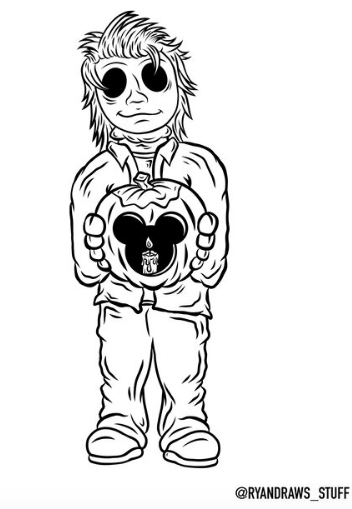
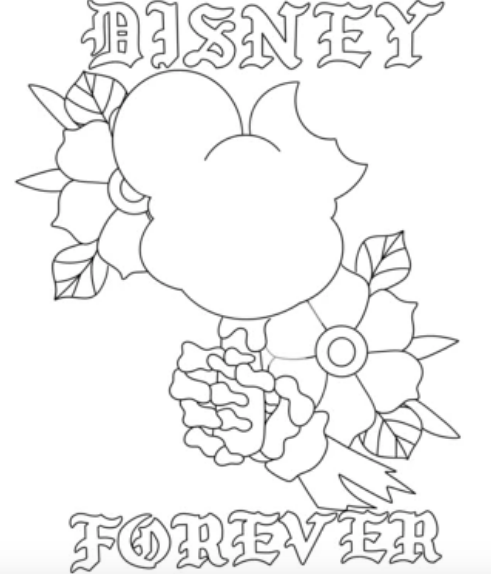
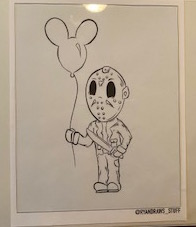
Step 1: Find what you want to turn into a faux stained glass. For this specific project, I used the coloring pages from Foolish Mortal Supply Co and Great Adventure Supply Co.
Step 2: Gather your supplies. Here I am going to break down the ones that I purchased. I found a pack of 10 frames on Amazon for about $30. You can find the exact ones that I bought HERE. There are different types of Mod Podge that you can purchase so this is a personal choice. I prefer the matte one because of the almost frosted/blurry look it leaves. You will see what I mean when we reach that step. When it comes to acrylic paint, this is 100% up to you. I use a mix of brands like Americana, Delta Ceramcoat, and Liquitex BASICS. You can find these at any craft store. The 3D or puffy paint is what is used to create the stained glass outlines. You can use the Tulip brand or the Scribbles 3D paint. You can use any glass cleaner, hot glue gun, permanent marker, or paintbrushes that you want. This also applies to the sponge brushes. The ones that I prefer are these round ones called stippler (or pouncer) or the flatter ones that can be found in this kit.
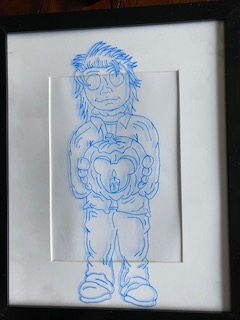
Step 3: Remove the glass from the frame and clean it with your window cleaner of choice. Once the glass has dried, place your image of choice under the glass and position it where you want it.
Step 4: Place the image of your choosing under the glass and trace it with the permanent marker.
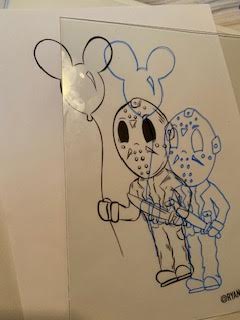
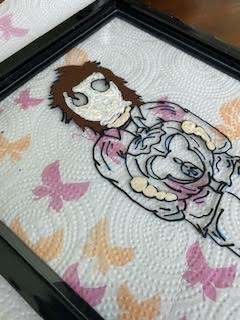
Step 5: Use the 3D paint and go over your lines. This gives the look of the raised metal you see throughout stained glass pieces. When you finish, let the paint dry based on the directions on the bottle. The drying time varies with each brand. After the paint has dried, you can take glass cleaner and wipe away any excess sharpie lines. This will NOT remove the paint.
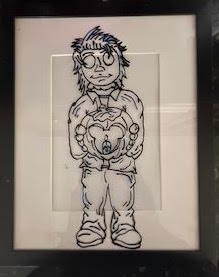
Step 6: Flip over the glass with the outlines facing down. I recommend having a paper towel or an old placemat under it. You will now apply a thin coat of Mod Podge only to the area that you will be painting. This gives the acrylic paint a surface to adhere to. Mod Podge dries clear so that is when you will know when it is time for the next step. If you get a little outside of the lines, it is okay. This will be fixed later.

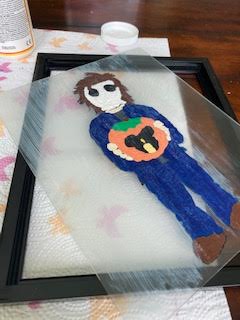
Step 7: Start painting! Keep in mind that a little paint goes a long way. It is better to apply a thin coat and build coverage. You can apply the paint in strokes or in a bouncing motion. Acrylic paint dries pretty quickly so let the paint dry in between layers. You can always hold your glass up to the light to see if you have missed any spots. Don’t overdo it with the amount of layers. Paint will always be streaking but once you hang it on your wall, it will not be noticeable.


Step 8: Once the paint has dried and it is to your liking, it is time to seal your art. You are going to apply another thin layer of Mod Podge. This time, you can apply it all over the area you painted and the surrounding glass. Applying it all over is optional but I think it is the final touch that is needed. If you have parts that had excess product from the first application, this will hide it. Once it dries, you will notice a blur/hazy look to the glass.
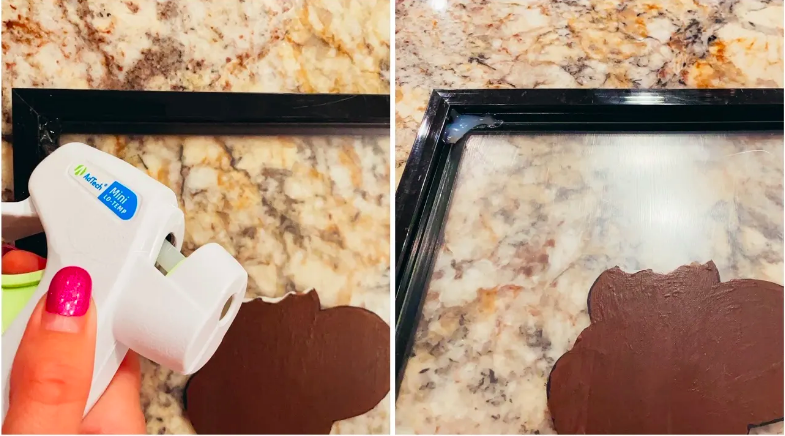
Step 10: You are going to insert the glass back into the frame. One way to display it is to flip the photo that comes with the frame to give you a solid background and attach the original backing. I chose to not insert any other part of the frame. I just kept the frame itself and the glass. You will take your hot glue gun and glue the corners of the glass into the frame.
Once you have completed these steps, you are ready to display your very own art! How cool is that? I used Command hooks to hang up the ones that I created. This is a DIY that you can do with so many things – tee, window clings, magnets, etc. You can paint the background or add other details. Your options are truly endless.
I hope you enjoyed creating your very own faux stained glass art! I cannot wait to see what you do! If you create your very own Faux Stained Glass, post it, tag @heartofgabby and use the hashtag #HeartofSpooky. If you have any questions or would like to see a specific DIY, feel free to leave a comment or shoot me a DM on Instagram.
